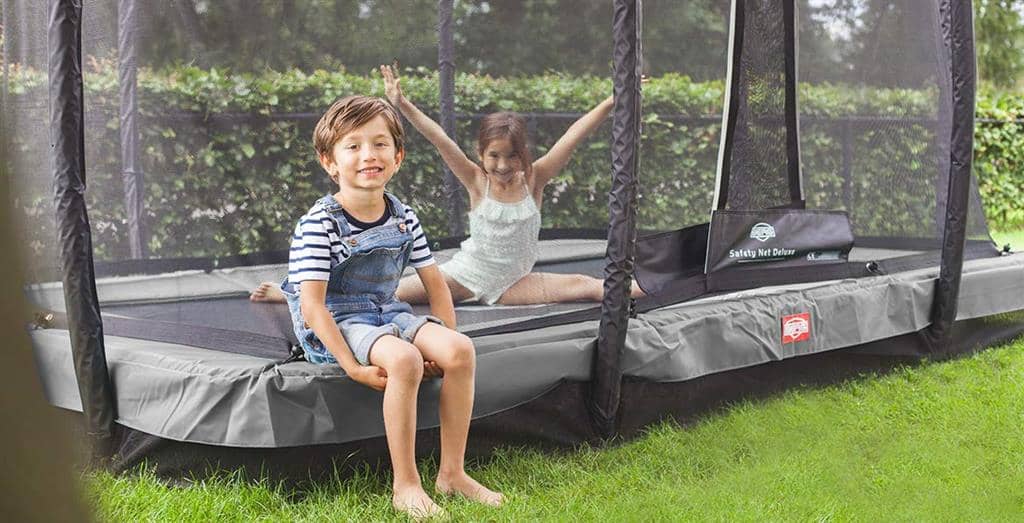
Comprehensive Installation Guide for Inground Trampolines
Installing an inground trampoline requires careful planning, precise excavation, and proper assembly to ensure safety, longevity, and optimal bounce performance. This guide provides a step-by-step approach to successfully installing an inground trampoline in your garden.
1. Planning and Preparation
Choose the Right Location
- Select a flat, level area with enough clearance around it (at least 2 meters of free space).
- Avoid placing the trampoline near fences, trees, or hard surfaces.
- Consider sunlight exposure and wind conditions to enhance safety and durability.
Measure Your Trampoline
- Determine the exact diameter and depth required for your specific trampoline model.
- Refer to the manufacturer’s installation guide for accurate specifications.
Check for Underground Utilities
- Contact local utility providers to check for underground pipes, cables, or irrigation lines.
- Avoid locations with poor drainage to prevent water accumulation in the trampoline pit.
Gather Required Tools and Materials
- Shovel or Mini Excavator (for digging the hole)
- Measuring Tape and Marking Spray (to outline the hole)
- Level (to ensure even ground)
- Gravel or Drainage Pipes (to prevent water buildup)
- Retaining Wall Materials (for added support in loose soil)
- Wheelbarrow (to remove excess soil)
2. Excavation Process
Mark the Area
- Use a measuring tape and marking spray to outline the trampoline hole.
- The hole should be slightly wider than the trampoline frame to allow for adjustments.
Digging the Hole
- The excavation should have a bowl shape:
- The outer edges should be about 30-40 cm deep to support the frame.
- The center should be the deepest part, typically 75-100 cm, depending on your trampoline model.
- Slope the sides gradually to prevent soil collapse.
Check for Level Ground
- Use a level to ensure the surface is even and adjust the depth if necessary.
- A slightly sloped hole can cause unstable bouncing and uneven weight distribution.
Install Drainage System
- If your area has poor drainage, consider adding drainage pipes or gravel layers to prevent water accumulation.
- Lay a 10-15 cm layer of gravel at the bottom of the pit to improve water absorption.
3. Assembling the Inground Trampoline
Set Up the Frame
- Place the trampoline frame inside the hole and adjust for proper fit.
- Ensure the top edge of the frame sits flush with the surrounding ground level.
- Secure the frame using retaining materials (bricks, concrete, or compacted soil) if necessary.
Attach the Jumping Mat and Springs
- Follow the manufacturer’s instructions for attaching springs and jump mat.
- Use a spring tool to attach springs evenly, moving in a crisscross pattern.
- Check for proper tension and elasticity before allowing use.
Secure Safety Padding
- Cover the springs and frame with UV-resistant safety padding to prevent injuries.
- Ensure the padding is firmly secured to avoid displacement during jumping.
4. Finishing Touches and Safety Checks
Backfill and Secure the Surrounding Area
- Fill in any gaps around the trampoline frame with soil or gravel.
- Compact the soil to prevent shifting over time.
- Ensure the trampoline is firmly anchored and does not wobble.
Test the Bounce
- Before allowing full use, perform a bounce test to ensure stability.
- Check for even bounce distribution and readjust if necessary.
Install Additional Safety Features
- If desired, install a safety net enclosure to further reduce injury risks.
- Consider adding a protective border around the trampoline with soft ground materials like rubber mulch, artificial grass, or foam mats.
5. Ongoing Maintenance and Care
Regular Inspections
- Check for loose springs, damaged padding, or frame rust every few weeks.
- Ensure that the jumping mat remains taut and springs stay in good condition.
Keep It Clean
- Remove leaves, dirt, and debris from the jumping mat.
- Wash the mat and padding with mild soap and water when needed.
Monitor Drainage and Soil Stability
- Ensure water does not pool in the trampoline pit after heavy rain.
- Periodically check for soil erosion around the frame and reinforce it as needed.
Protect Against Extreme Weather
- In winter or heavy storms, consider using a trampoline cover to prevent damage.
- If high winds are common in your area, use trampoline anchor kits for additional security.
6. Common Issues and Troubleshooting
Trampoline Frame is Uneven
- Solution: Re-check ground level and adjust soil depth under the frame.
Poor Bounce Performance
- Solution: Improve airflow by ensuring enough gap around the frame or installing airflow mats.
Water Accumulation in the Pit
- Solution: Install a better drainage system with gravel layers or drainage pipes.
Padding Keeps Moving
- Solution: Secure padding tightly using Velcro straps or additional ties.
Conclusion: Enjoy Your Inground Trampoline
Installing an inground trampoline requires time and effort, but the safety benefits, aesthetic appeal, and improved bouncing experience make it a worthwhile investment. By carefully planning your installation, ensuring proper drainage, and performing regular maintenance, you can enjoy years of fun and active outdoor play. Follow this guide, and your inground trampoline will be a safe, durable, and exciting feature in your garden for the whole family to enjoy!
